 Jigar Karangiya
Hello Magento Devs,
So in this quick tutorial, we are going to see how we can install the latest Magento 2.4.6 in quick easy steps.
Let’s get started, follow the steps with me.
While writing this tutorial, the current Magento version is 2.4.6-p1. So we are going to install it on our Ubuntu environment.
System Requirements:
Composer 2
PHP 8.1, or PHP 8.2
Step 1: Jump to your web server root folder (apache2)
in my case, it is /home/jigar_karangiya/htdocs/ it can be anything like /var/www/html depending on your system configurations.
cd /home/jigar_karangiya/htdocs/Step 2: Download the latest magento 2 version using composer
For community or open-source versions :
composer create-project --repository-url=https://repo.magento.com/ magento/project-community-edition <install-directory-name>For enterprise or cloud versions use the below command :
composer create-project --repository-url=https://repo.magento.com/ magento/project-enterprise-edition <install-directory-name>If you want to download a specific Magento version refer below command :
composer create-project --repository-url=https://repo.magento.com/ magento/project-enterprise-edition=2.4.6-p1 <install-directory-name>In my case,
it will be commerce edition – 2.4.6-p1 and the directory where I want to install my Magento is m246p1 :
So the command will look like the below :
composer create-project --repository-url=https://repo.magento.com/ magento/project-enterprise-edition=2.4.6-p1 m246p1When it asks for the authentication keys, enter your open-source or commerce edition keys.
You can grab your access keys from here.
Step 3: Set file permissions
For the development system use the below commands for correct file permissions to generate files on the go.
sudo find . -type f -exec chmod 644 {} \;
sudo find . -type d -exec chmod 755 {} \;
sudo chmod -Rf 777 var
sudo chmod -Rf 777 pub/static
sudo chmod -Rf 777 pub/media
sudo chmod 777 ./app/etc
sudo chmod 644 ./app/etc/*.xml
sudo chmod -Rf 775 bin
Step 4: Create a database for our Magento instance
You can run the below command or manually create a database for this Magento instance.
echo "CREATE DATABASE m246p1" | mysql -u admin -pWhen it will ask for the password, enter your MySQL user password and hit enter.
It will create an empty database where we can store our Magento 2 tables.
Step 5: Create a Virtual Host file to add a custom domain
Using the below steps you can set up a virtual local domain for our Magento instance, from which our Magento will be accessible on the front end.
Declare Apache2 site configuration :
sudo nano /etc/apache2/sites-available/m246p1.confThis will create and open the file in edit mode for our Magento 2 configuration and now paste the below content to the editor.
<VirtualHost *:80>
     ServerAdmin admin@domain.com
     DocumentRoot /home/jigar_karangiya/htdocs/m246p1/pub/
     ServerName m246p1.local
     ServerAlias www.m246p1.local
     <Directory /home/jigar_karangiya/htdocs/whohasit/pub/>
        Options Indexes FollowSymLinks MultiViews
        AllowOverride All
        Order allow,deny
        allow from all
     </Directory>
     ErrorLog ${APACHE_LOG_DIR}/error.log
     CustomLog ${APACHE_LOG_DIR}/access.log combined
</VirtualHost>
Save the file and we are ok to move ahead.
Now we need to add a host entry to link with this local domain by adding our domain entry to the /etc/hosts file.
sudo nano /etc/hostsThe above command will open the file in the editor, paste the below entry and modify as per requirement :
127.0.0.1 m246p1.localEnable your site and rewrite the mod :
sudo a2enmod rewrite
sudo a2ensite m246p1.conf
Restart the Apache2 server using the below command to reflect our changes :
sudo systemctl reload apache2Step 6: Install Magento 2
Run the following lines in Command-Line to install your Magento 2 and update as per your requirement:
bin/magento setup:install \
--base-url=http://m246p1.local/ \
--db-host=localhost \
--db-name=m246p1 \
--db-user=admin \
--db-password=Admin@123 \
--backend-frontname=admin \
--admin-firstname=Jigar \
--admin-lastname=Karangiya \
--admin-email=jigarkkarangiya@gmail.com \
--admin-user=superman \
--admin-password=Admin@123 \
--language=en_US \
--currency=USD \
--timezone=America/Chicago \
--use-rewrites=1 \
--search-engine=elasticsearch7 \
--elasticsearch-host=localhost \
--elasticsearch-port=9200
It will start installing and configuring your Magento instance like below :
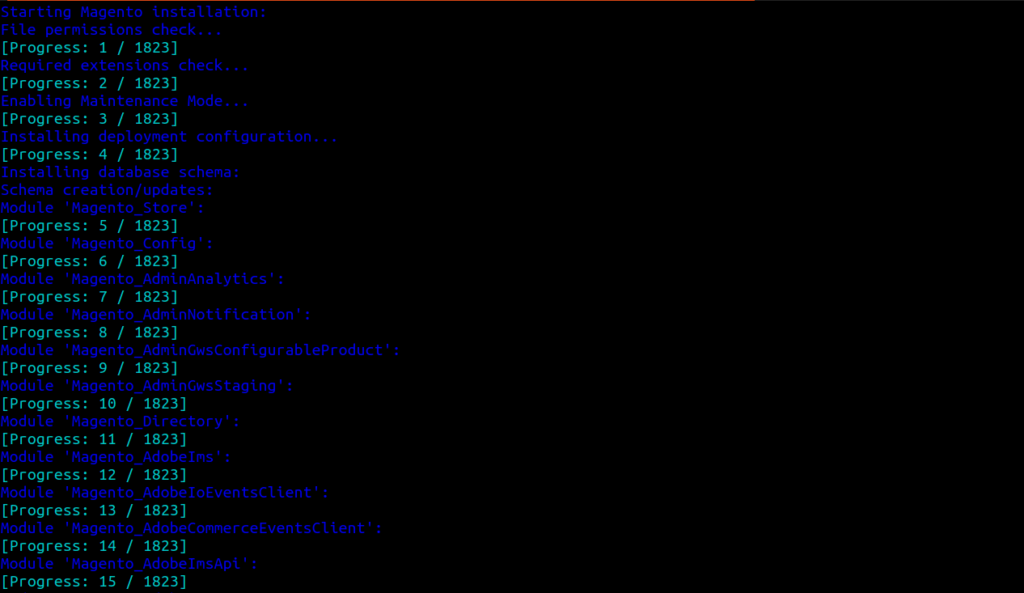
Once the installation process is done, we need a few touches to go ahead before using the Magento instance.
Step 7: Switch to Developer Mode
php bin/magento deploy:mode:set developerStep 8: Disable Two Factor Authentication
Disable Two Factor Authentication as we are working locally, by running the below command :
php bin/magento module:disable Magento_TwoFactorAuth Magento_AdminAdobeImsTwoFactorAuthStep 9: Install Sample Data (Optional)
You can simply install sample data using the below command :
php bin/magento sampledata:deployStep 10: Run the below deployment commands
php bin/magento s:up && php bin/magento s:d:c && php bin/magento s:s:d -f && php bin/magento c:f
php bin/magento ind:res && php bin/magento ind:rei
Congratulations, You are all set !!
Hit the below URL in the browser :
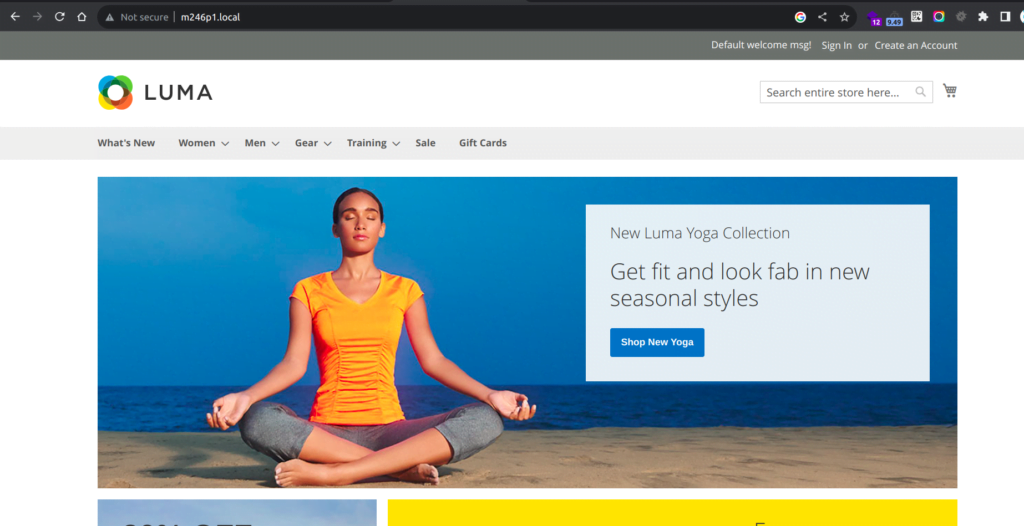
Bonus :
1. If you want to install b2b modules if you have installed the commerce edition you can run the below command :
composer require magento/extension-b2b2. If you want to install cloud meta packages modules if you have installed the commerce edition you can run the below command :
composer require magento/magento-cloud-metapackageThat’s it for this tutorial, We have covered both Magento versions community and commerce editions, and learned how we can configure a virtual host for a custom domain for our Magento instance.
See You in the next blogs!!