 Jigar Karangiya
The Hyvä theme is one of the most popular themes for Magento 2 due to its streamlined performance, clean codebase, and exceptional frontend experience. By reducing unnecessary JavaScript and CSS, it boosts your site’s speed and SEO performance. If you’re a Magento developer or store owner looking to implement Hyvä , this guide will walk you through the installation process with easy steps.
Prerequisites for Installing Hyvä in Magento 2
Before you start, ensure that:
- You have a licensed copy of the Hyvä theme. Hyvä requires a license, which can be purchased from the Hyvä Themes official website.
- Your Magento 2 instance is installed and fully configured (Magento version 2.4.3 CE or higher/PHP version 7.4, 8.1 or 8.2).
- You have SSH access to your server, as the installation process requires command-line operations.
- Ensure your store meets the technical requirements for the Hyvä theme, including compatibility with the latest Magento 2 version.
Step 1: Download the Hyvä Theme
After purchasing, log in to the Hyvä portal, and download the latest version of the Hyvä theme package. Save this package on your local machine, as it will be uploaded to your Magento server.
Step 2: Install the Hyvä Theme via Composer
# this command adds your key to your projects auth.json file

# replace yourLicenseAuthentificationKey with your own key
composer config --auth http-basic.hyva-themes.repo.packagist.com token yourLicenseAuthentificationKey

# replace yourProjectName with your project name
composer config repositories.private-packagist composer https://hyva-themes.repo.packagist.com/yourProjectName/
You are now set to install Hyvä theme on your magento instance.
Step 3: Install Hyvä Theme
Run the below command to install the Hyvä theme package and its dependencies.
composer require hyva-themes/magento2-default-themeStep 4 : Perform deployment commands
bin/magento setup:upgrade
bin/magento setup:di:compile
bin/magento setup:static-content:deploy -f
bin/magento cache:flush
Step 5 : Activate Hyvä Theme
- Login to Magento Admin : Go to your Magento Admin panel.
- Navigate to Content > Design > Configuration: Select the theme configuration for your store view.
- Apply the Hyvä Theme : Under “Applied Theme,” select “Hyvä” and click “Save Configuration.”
- Also ensure to set theme on website level , because it may be set to blank/luma theme.
- Flush the Cache : After saving the changes, flush the cache by navigating to System > Cache Management and clicking “Flush Magento Cache.”
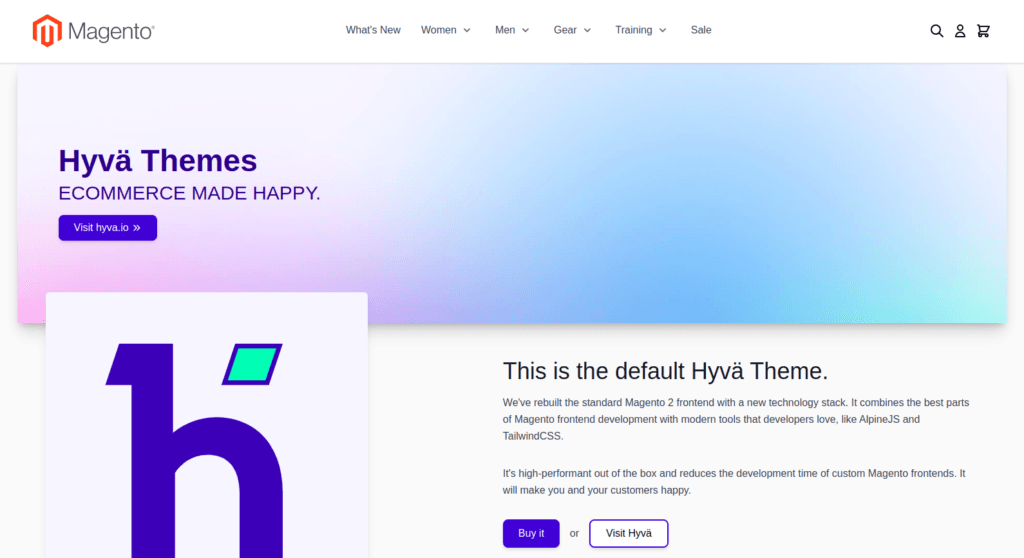
Once the theme is applied, open store’s frontend in a browser to ensure the Hyvä theme is displaying correctly. Perform a quick check on all essential pages to confirm everything is functioning smoothly.
As a result, new theme is applied to your store and you will see the all new user experience.
Bonus Steps
Below are some hyva recommended steps to avoid any issues with hyva theme.
1) Currently Hyvä don’t support the old Magento captcha implementation
Run below command to disable the default Magento Captcha
bin/magento config:set customer/captcha/enable 02) Disable the minification and bundling for HTML, CSS and JS
As Hyvä doesn’t require built in minification and bundling for HTML, CSS and JS we can disable it.
Run below commands :
bin/magento config:set dev/template/minify_html 0
bin/magento config:set dev/js/merge_files 0
bin/magento config:set dev/js/enable_js_bundling 0
bin/magento config:set dev/js/minify_files 0
bin/magento config:set dev/js/move_script_to_bottom 0
bin/magento config:set dev/css/merge_css_files 0
bin/magento config:set dev/css/minify_files 0
3) Cross verify required GraphQL modules are enabled
Ensure the below GraphQL modules are enabled as Hyvä uses Magento default GraphQL.
To check modules are enabled, run below command :
bin/magento module:status Magento_BundleGraphQl Magento_CatalogCustomerGraphQl Magento_CatalogGraphQl Magento_CatalogRuleGraphQl Magento_CatalogUrlRewriteGraphQl Magento_ConfigurableProductGraphQl Magento_CustomerGraphQl Magento_DirectoryGraphQl Magento_DownloadableGraphQl Magento_EavGraphQl Magento_GraphQl Magento_GroupedProductGraphQl Magento_QuoteGraphQl Magento_GraphQlCache Magento_RelatedProductGraphQl Magento_ReviewGraphQl Magento_SalesGraphQl Magento_StoreGraphQl Magento_SwatchesGraphQl Magento_UrlRewriteGraphQl Magento_WishlistGraphQlTo enable disabled modules, run below command :
bin/magento module:enable Magento_BundleGraphQl Magento_CatalogCustomerGraphQl Magento_CatalogGraphQl Magento_CatalogRuleGraphQl Magento_CatalogUrlRewriteGraphQl Magento_ConfigurableProductGraphQl Magento_CustomerGraphQl Magento_DirectoryGraphQl Magento_DownloadableGraphQl Magento_EavGraphQl Magento_GraphQl Magento_GroupedProductGraphQl Magento_QuoteGraphQl Magento_GraphQlCache Magento_RelatedProductGraphQl Magento_ReviewGraphQl Magento_SalesGraphQl Magento_StoreGraphQl Magento_SwatchesGraphQl Magento_UrlRewriteGraphQl Magento_WishlistGraphQl4) Disable unsupported extensions
bin/magento module:disable Dotdigitalgroup_Email Dotdigitalgroup_Chat Dotdigitalgroup_ChatGraphQl Dotdigitalgroup_EmailGraphQl Dotdigitalgroup_Sms Dotdigitalgroup_Enterprise Dotdigitalgroup_B2bDotdigitalgroup_Enterprise Dotdigitalgroup_B2b modules need to disable only if you are running adobe commerce enterprise edition, else you can remove from above command.
5) Install Hyvä checkout module
-
_forluma based checkout _:
composer require hyva-themes/magento2-luma-checkout
-
_forreact based checkout _:
composer require hyva-themes/magento2-react-checkout
-
forHyvä One Step Checkout(works only if purchased)
6) compile tailwind Styles for Checkout****
To generate the styles using Tailwind CSS, replace the path vendor/hyva-themes/magento2-default-theme/web/tailwind/ with the path to your theme’s web/tailwind folder.
Once setup above paths,
Run the following commands:
npm --prefix vendor/hyva-themes/magento2-default-theme/web/tailwind/ ci
npm --prefix vendor/hyva-themes/magento2-default-theme/web/tailwind/ run build-prod
Additional Links
https://docs.hyva.io/hyva-themes/getting-started/index.html
https://www.hyva.io/hyva-checkout.html
https://docs.hyva.io/hyva-themes/faqs/hyva-contribution-guideline.html
That’s it, you have now successfully installed and configured Hyvä theme for your storefront.
People also searched for
- Complete Guide to Installing Hyvä Theme in Magento 2 for Beginners
- Hyvä vs. Luma: Why Hyvä Theme is the Best Choice for Magento 2
- Top 5 Benefits of Using the Hyvä Theme in Magento 2
- How to Set Up Hyvä Checkout for Magento 2: A Step-by-Step Guide
- Optimize Your Magento 2 Store: Hyvä Theme Installation and Configuration
- Hyvä Theme Performance Boost: Installation Tips for Magento 2 Developers
- Hyvä Theme Troubleshooting: Common Issues and Fixes in Magento 2
- Best Practices for Installing Hyvä Theme and Tailwind CSS in Magento 2
- Magento 2 Hyvä Theme: Prerequisites and Installation Guide
- How to Customize the Hyvä Theme in Magento 2 for a Unique Look
You may also like,